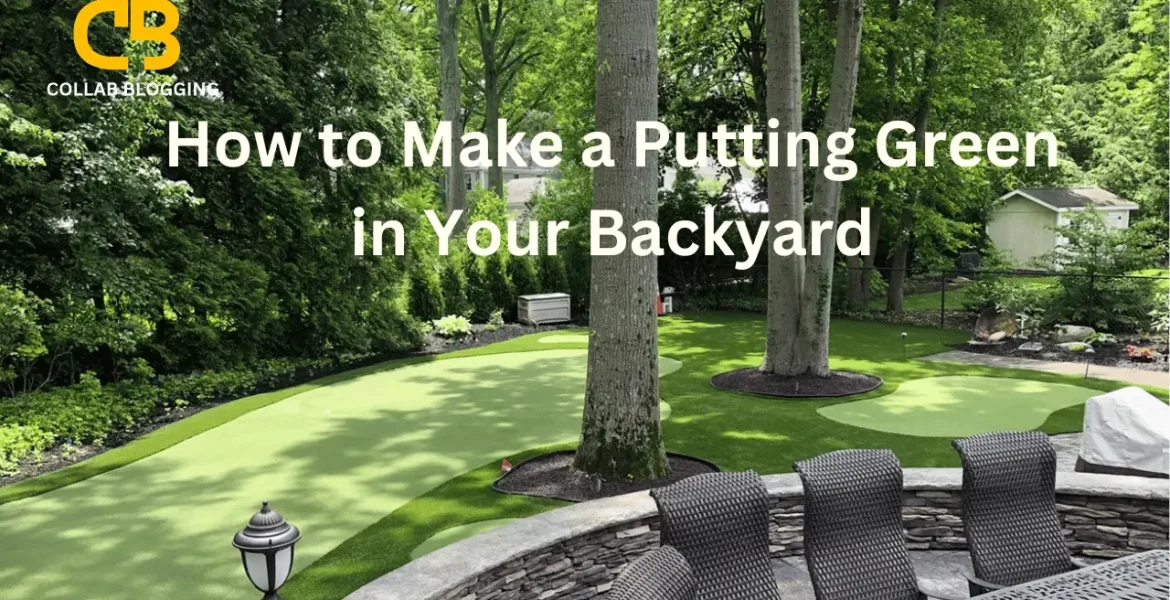
Building a backyard putting green is a great idea if you love golf or baseball. It gives you a chance to practice at home anytime. You save time and money by not traveling to a golf course. It’s also a fun way to stay active and improve your skills. Having a putting green at home means you can practice even for a few minutes when you’re free.
A backyard putting green adds value to your home. It can make your outdoor space look more attractive. It’s also a great spot for family fun and hosting friends. Whether you choose natural grass or artificial turf, it’s easy to enjoy. Plus, you can design it to suit your style and needs.
Table of Contents
Planning Your Putting Green
The first step in planning your putting green is picking the right location. Choose a spot in your backyard that gets enough sunlight and has proper drainage. Avoid areas with too many trees, as roots and falling leaves can cause problems. A flat or slightly sloped surface works best for a smooth playing area.
Decide on the size and shape of your putting green based on the space available. You can keep it simple with a rectangular design or make it more challenging with curves and slopes. Think about how much area you want to dedicate and ensure it fits your backyard layout.
Choose between natural grass and artificial turf. Natural grass gives a traditional look but needs regular maintenance. Artificial turf is low-maintenance and stays green all year round. Once you’ve decided on these basics, consider adding cups, flags, or landscaping for a polished look and better functionality.
Preparing the Ground
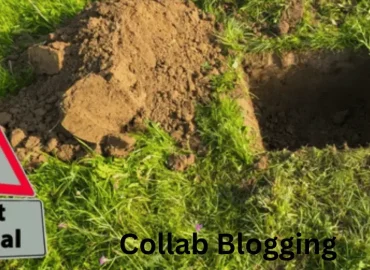
Preparing the ground is a key step for a durable and smooth putting green. Start by clearing the area of rocks, grass, and debris. Use a shovel or a small tiller to remove existing vegetation and level the surface. This ensures a clean base for the next steps.
Once cleared, focus on leveling the area. Use a rake to smooth out the soil and fill any dips or uneven spots. Proper leveling is crucial for creating a flawless playing surface. If the area slopes, you can use it to add some natural contours to your green.
Install a drainage system if necessary. Good drainage prevents water from pooling, especially after rain. Lay perforated pipes or create channels to direct water away from the green. Compact the soil using a roller to make the surface firm and ready for the base layer. Proper ground preparation ensures a strong foundation for your putting green.
Building the Base Layer
The base layer is essential for a smooth and durable putting green. Start by adding a sub-base material, such as crushed stone or gravel, over the compacted soil. Spread the material evenly to create a stable foundation. This layer helps with drainage and prevents shifting over time.
Once the sub-base is in place, compact it firmly using a plate compactor or hand roller. A tightly packed base ensures the putting green stays level and firm. Add more material if needed to fill in low spots and maintain an even surface.
Next, shape the base to create the desired contours for your green. You can design gentle slopes or challenging breaks to make your green more interesting. Use a rake or shovel to refine the shape. After shaping, lightly compact the surface again to lock the design in place. This solid base will support the putting surface effectively.
Installing the Putting Surface
Once the base layer is ready, it’s time to install the putting surface. Begin by unrolling the artificial turf or laying the natural grass sod over the compacted base. Ensure the turf fits the area properly, with minimal gaps or overlaps. Let the turf settle for a few hours to prevent wrinkles or uneven spots.
Trim the edges of the turf carefully to match the shape of your putting green. Use a sharp utility knife for precision. Secure the turf in place using landscape staples or adhesive, depending on the type of material and base. This keeps it firmly attached, even during heavy use.
Cut holes for the cups where you want to place them. Use a hole cutter or sharp tool to create clean, round openings. Install the cups securely, ensuring they are flush with the turf. Once everything is in place, brush the surface to distribute the fibers evenly, completing your putting green.
Adding the Final Touches
Installing Cups and Flags
Start by placing the cups into the pre-cut holes, ensuring they fit snugly and sit level with the turf. A proper fit prevents any wobbling during play. Attach the flags to the cups to clearly mark each hole. The flags not only add a professional touch but also make your green easier to navigate and more enjoyable to use.
Enhancing with Landscaping
Add landscaping elements to make your putting green stand out. Use decorative rocks, mulch, or small plants around the edges to create a visually appealing border. Consider low-maintenance greenery that complements your backyard’s style. Landscaping not only enhances the look but also helps define the green’s boundaries, giving it a neat and finished appearance.
Including Additional Features
For a realistic touch, include elements like sand traps or a fringe area around the green. Sand traps can be small, shallow sections filled with sand for added difficulty. A fringe, made of shorter grass or turf, provides a transition zone that mimics real golf greens. These features can make practice sessions more challenging and engaging.
Final Inspection
Carefully walk around the entire green to check for any imperfections. Ensure all edges are secured, and the turf is free of wrinkles or bumps. Adjust any uneven spots or loose materials to maintain a smooth surface. Brush the turf fibers evenly for a polished finish. With everything in place, your green will look great and be ready for hours of fun and practice.
Maintaining Your Putting Green
Regular Cleaning
Keep your putting green clean by removing leaves, dirt, and debris regularly. Use a broom or leaf blower to clear the surface and prevent buildup. If you have artificial turf, occasionally rinse it with water to remove dust and dirt. Regular cleaning helps maintain the appearance and performance of your green.
Brushing and Grooming
To keep the turf looking fresh, use a brush or broom to brush the surface. Brushing helps keep the fibers upright and prevents them from flattening. For natural grass, mow regularly and trim the edges to keep the green neat. Grooming the surface also ensures smooth ball roll, enhancing your practice sessions.
Checking for Damage
Inspect your putting green often for signs of wear, especially if you have high-traffic areas. For artificial turf, check for loose seams or damaged sections. If you have natural grass, keep an eye out for patches that need reseeding. Repair any damage quickly to avoid bigger issues.
Seasonal Care
Depending on the weather, seasonal care may be necessary. During colder months, you might need to protect natural grass from frost damage. If you live in an area with harsh weather, consider covering your artificial turf to protect it from dirt or snow. Regular maintenance helps extend the life of your putting green and keeps it in top condition year-round.
Conclusion
Building a putting green in your backyard is a fun and rewarding project. With careful planning, proper preparation, and the right materials, you can create a great space for practicing golf or enjoying time outdoors. Whether you choose natural grass or artificial turf, your putting green will add value to your home and provide endless enjoyment.
By following the steps and maintaining your green regularly, you can keep it in top condition for years. With just a little effort, your backyard can become a personal golf course, offering fun and practice every time you step outside.


Visit us
March 3, 2025 at 2:42 pmThe post is an eye-opening read. I was unaware of those before. Thanks for enlightening us.
https://medium.com/@ericnorman_56550/scammers-use-phone-number-to-target-uk-residents-90a9003d3575
Daron
March 15, 2025 at 7:53 pmThis blog provides high-quality information on related topics. Keep up the great work.
https://byteshort.xyz
🖱 Email; Transaction NoTZ67. ASSURE =>> https://graph.org/GET-BITCOIN-02-25?hs=4e7b0cc78ad97df2c11763a1abe86f6d& 🖱
March 16, 2025 at 6:51 amtsq6ri
Tinisha
March 16, 2025 at 9:53 amGreat suggestions! I’m certainly going to try them out.
https://www.screenshots.wiki
📠 Sending a transaction from user. Get >> https://telegra.ph/Binance-Support-02-18?hs=4e7b0cc78ad97df2c11763a1abe86f6d& 📠
March 19, 2025 at 5:44 pmq3mazk
🔒 Reminder- Transfer #AA09. WITHDRAW > https://telegra.ph/Binance-Support-02-18?hs=4e7b0cc78ad97df2c11763a1abe86f6d& 🔒
March 20, 2025 at 10:38 amwg77hb
🗓 + 1.689511 BTC.GET - https://graph.org/Message--0484-03-25?hs=4e7b0cc78ad97df2c11763a1abe86f6d& 🗓
March 27, 2025 at 6:48 am8gpplo
📬 Message: SENDING 1,950788 BTC. Get =>> https://graph.org/Message--0484-03-25?hs=4e7b0cc78ad97df2c11763a1abe86f6d& 📬
March 29, 2025 at 6:38 pm15vkuc
📐 + 1.578169 BTC.NEXT - https://graph.org/Message--05654-03-25?hs=4e7b0cc78ad97df2c11763a1abe86f6d& 📐
April 10, 2025 at 4:51 pmfu54wl
Liliana
April 13, 2025 at 2:03 amI’m extremely inspired together with your writing abilities as neatly as with
the structure to your blog. Is this a paid theme or did you customize
it your self? Either way keep up the excellent quality writing, it’s uncommon to peer a nice weblog like this one nowadays.
Affilionaire.org!
My web site; Stan Store
🗝 Notification: + 1.305063 BTC. Confirm =>> https://graph.org/Message--05654-03-25?hs=4e7b0cc78ad97df2c11763a1abe86f6d& 🗝
April 15, 2025 at 2:07 am1bjjh0
📂 + 1.537375 BTC.GET - https://graph.org/Message--120154-03-25?hs=4e7b0cc78ad97df2c11763a1abe86f6d& 📂
April 30, 2025 at 5:00 amci4bqq